Wednesday, October 3, 2012

Goodbye Teacups

We hired a local company to get rid of the "vintage" teacup wallpaper. They textured the walls to match the rest of the house, then painted the walls and the trim. We love it!! I used to really hate our kitchen cabinet color and backsplash but they look great with the red. Yay!!

Old Kitchen


 Goodbye teacups!! We love the color!! (Behr red red wine and weathered sandstone)


Monday, July 9, 2012

Decorating

There is nothing like hanging pictures or decorations to transform a house to a home. I was pretty slack on hanging any pictures or doing any decoration in general resulting in our house looking like a large, beige apartment. Luckily, a family member sent me an awesome country folk framed print for my birthday and inspired me to purchase some more prints and start decorating. Yay!


Entryway/Foyer - Winter Folk Scene to the left of the front door


Entryway/Foyer - Fall Folk Scene to the right of the front door

Another View


Next to office french doors


Above console table between entryway/foyer and family room


Adorable barn (I don't have a picture of it hanging, but it's in our family room)
Maine summer scene that will be hanging in our master bathroom...one day!

New photo gallery of the family!

Kids Bathroom Update

Hello everyone. You may be thinking-wow, why isn't Christine updating the house blog? Well, after finishing the half bath and the toilet/tub area of the kids bathroom last August....house projects took a back burner to everyday life. I know, I know. It's been almost a year, but living with half finished bathrooms is the norm around here! 

Well, a few weeks ago when my VPN connection was down (meaning I couldn't work) and I decided to start steaming off the rest of the wallpaper in the kids bathroom. J.D. has since finishing steaming the wallpaper, primed and painted and installed new floor boards. He also resanded the vanity and repainted it. When he removed the light fixtures he discovered the light sockets were not level with each other or centered on the wall, so he moved them and is in the process of re-patching the wall. Still to do-put another coat of paint on the walls, install new light fixtures, mirror, faucets, hand towel holders, order and install new doors/drawers for the vanity (the original ones were swollen MDF and in bad shape). We (really, J.D. :)) should have the bathroom done in a few more weekends. Exciting!


Monday, August 29, 2011

Half Bath

I am thrilled to report that our half bathroom is almost completely done. When we bought the house, the room had awful off white floral wallpaper, brown vinyl flooring (that never looked clean no matter how often I cleaned it), an octagon shaped mirror glued to the wall and a pedestal sink that had seen better days. The baseboards were also extremely chipped. I don't have any before pictures (sorry!) but I am in love with this room now. I LOVE it!!
  • Walls: wallpaper removed (I steamed it off and discovered I actually enjoy removing wallpaper, yes, I'm weird), primed and painted a pale grey ("silver mist" from Lowes)
  • Windows: mini-blinds gone, we are planning to get some plantation shutters at some point
  • Furniture: new vanity, mirror, faucets, toilet paper holder, hand towel holder, light fixture, toilet handle and wide baseboards
  • Floor: 12x12 off white tile

Friday, July 29, 2011

Master Bath

When we bought this house we knew the master bathroom needed some major updating. First of all-it had floral wallpaper (I'll never understand the infatuation with wallpaper in the 80s and 90s) and carpet. Yes, you read that correctly-carpet in the bathroom. Gross! I thought we were planning to remove the wallpaper, rip out the carpet and update some fixtures, however my hubby had bigger ideas. So when I came home from a business trip last year (about a month after we had moved into the house) I found the room completely gutted. Toilet? Gone. Sinks and vanities? Ripped out. Floor? beautiful subfloor awaited me. Shower? Unit ripped out. Functioning bathroom? Most definitely NOT.

The new plan:
*Floor: white octagon tiles
*Shower: white subway tiles to the ceiling, new fixtures
*Tub: white subway tile around the perimeter of the tub, new fixtures
*Sinks: the bathroom originally had a his/her split sink design, we want to recess the pipes where the "his" sink was and put a storage unit there for linens; add double sinks to the other wall
*Paint the walls and add wainscoting
* Purchase new double vanity, frame mirrors

The hubby went to work removing the wallpaper and found multiple layers. It took him a few months to get it all down. Next up, he cut the hole in the wall between the shower and tub to add some natural light to the shower area. In October (yes....this project started last February) I hired contractors to install new subfloor, tile the floor, shower and tile the side of the tub. Once that was complete, the hubby installed the wainscoting. I purchased new fixtures and realized they should have been replaced BEFORE the shower was tiled. In the contractors defense, they did ask me about the fixtures before they tiled, but I was so frustrated that the room was still a construction zone after 9 months that I told them to tile and I'd deal with the fixtures later (I also had limited sleep as my baby was 2 weeks old when the contractors were here). Anyway-after pricing several plumbers and discovering their labor rates range from $600 to $1k per hour (no joke!) the hubby decided to replace them himself. The tile people came back out to cut a hole for the tub and those fixtures are done (great job babe!). He'll do the shower fixtures (he cut a hole in the dry wall in the toilet area) next weekend and we'll finally be able to shower without toys falling on us.

So, still to do:
*install shower fixtures
*need shower door cut and glass for decorative window between shower/tub
*need to purchase double vanity, mirrors
*touch up some more paint

We're finally making progress...at least now, after 1.5 years we do have a functioning toilet and tub.
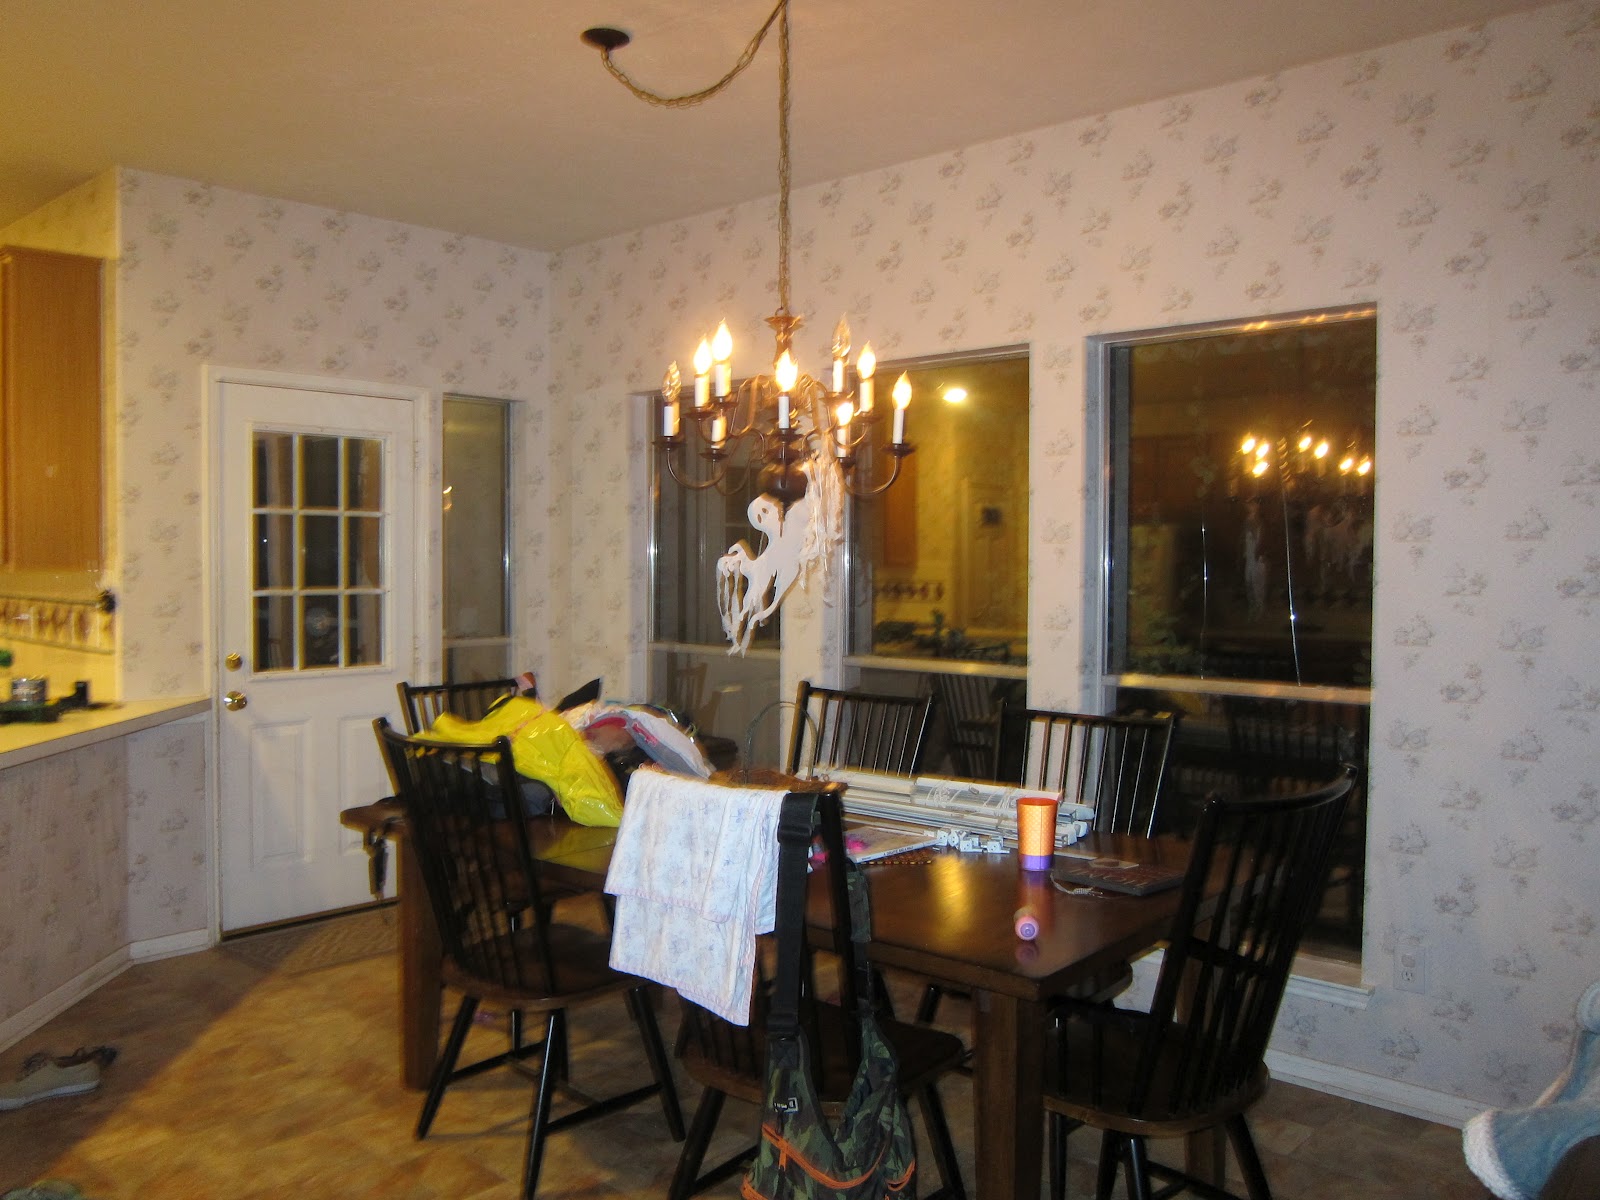
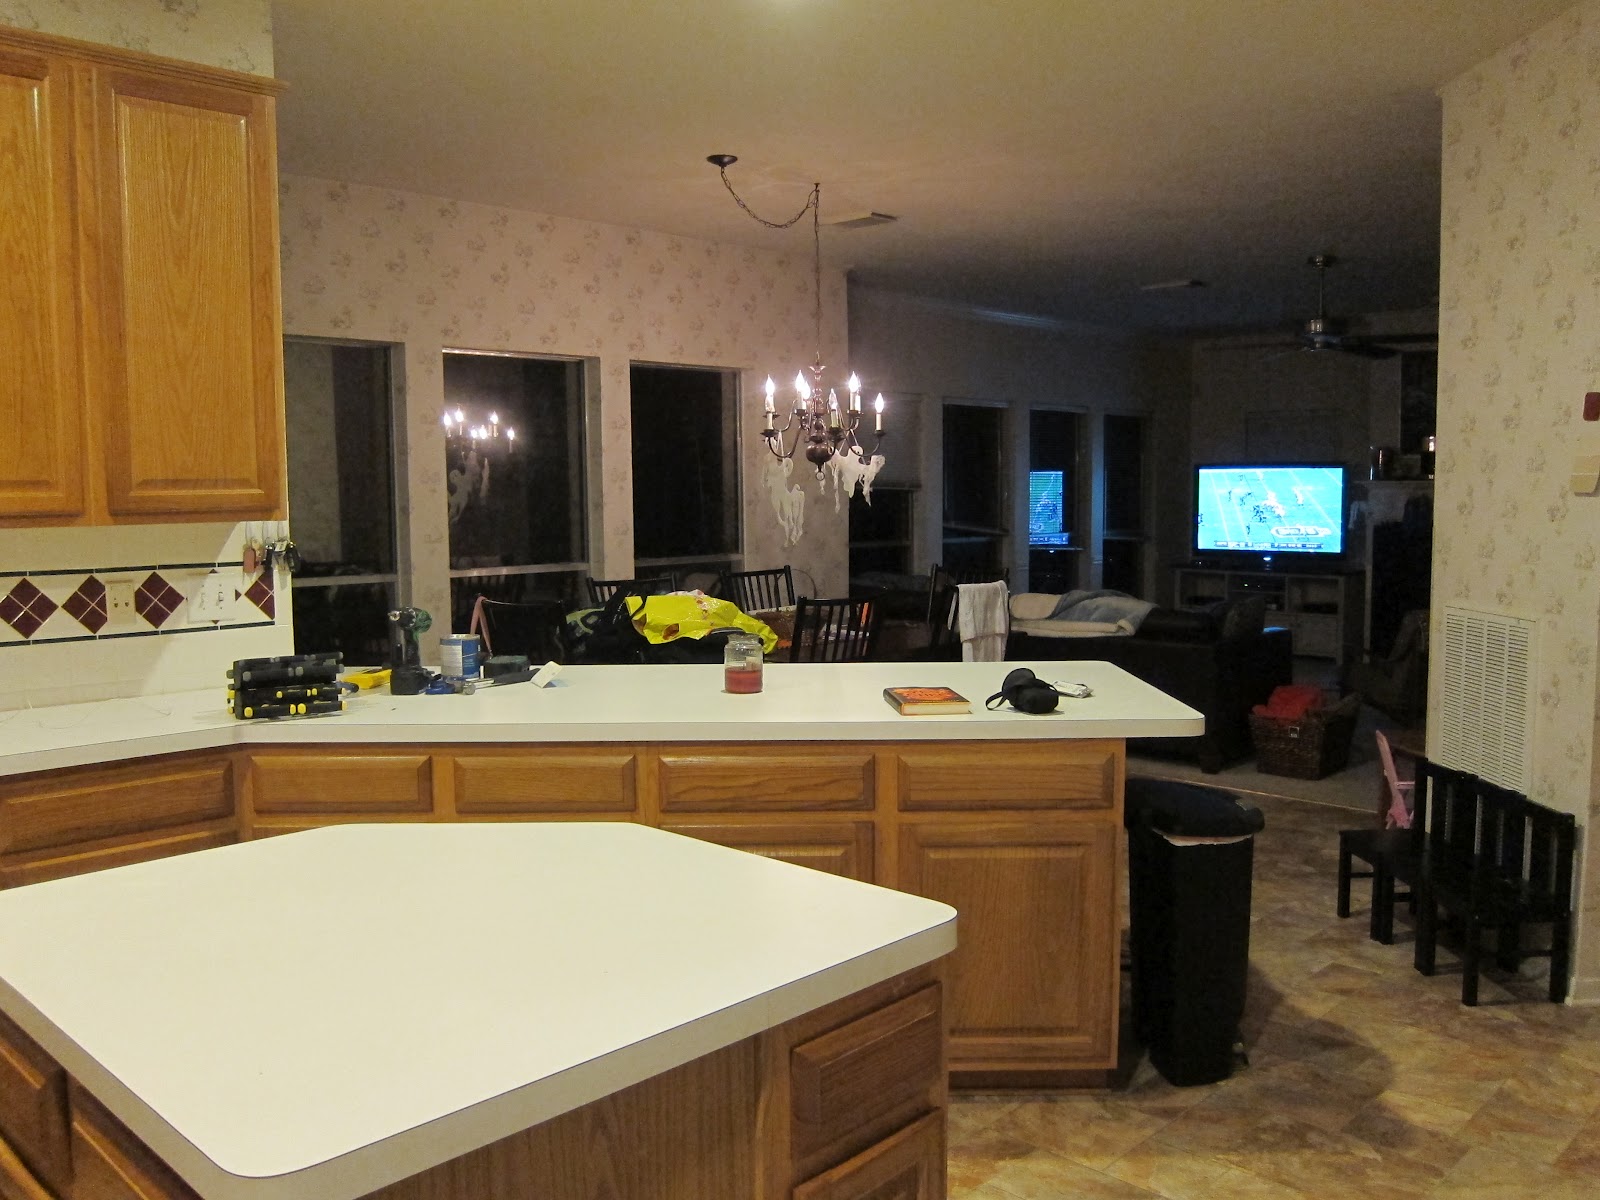
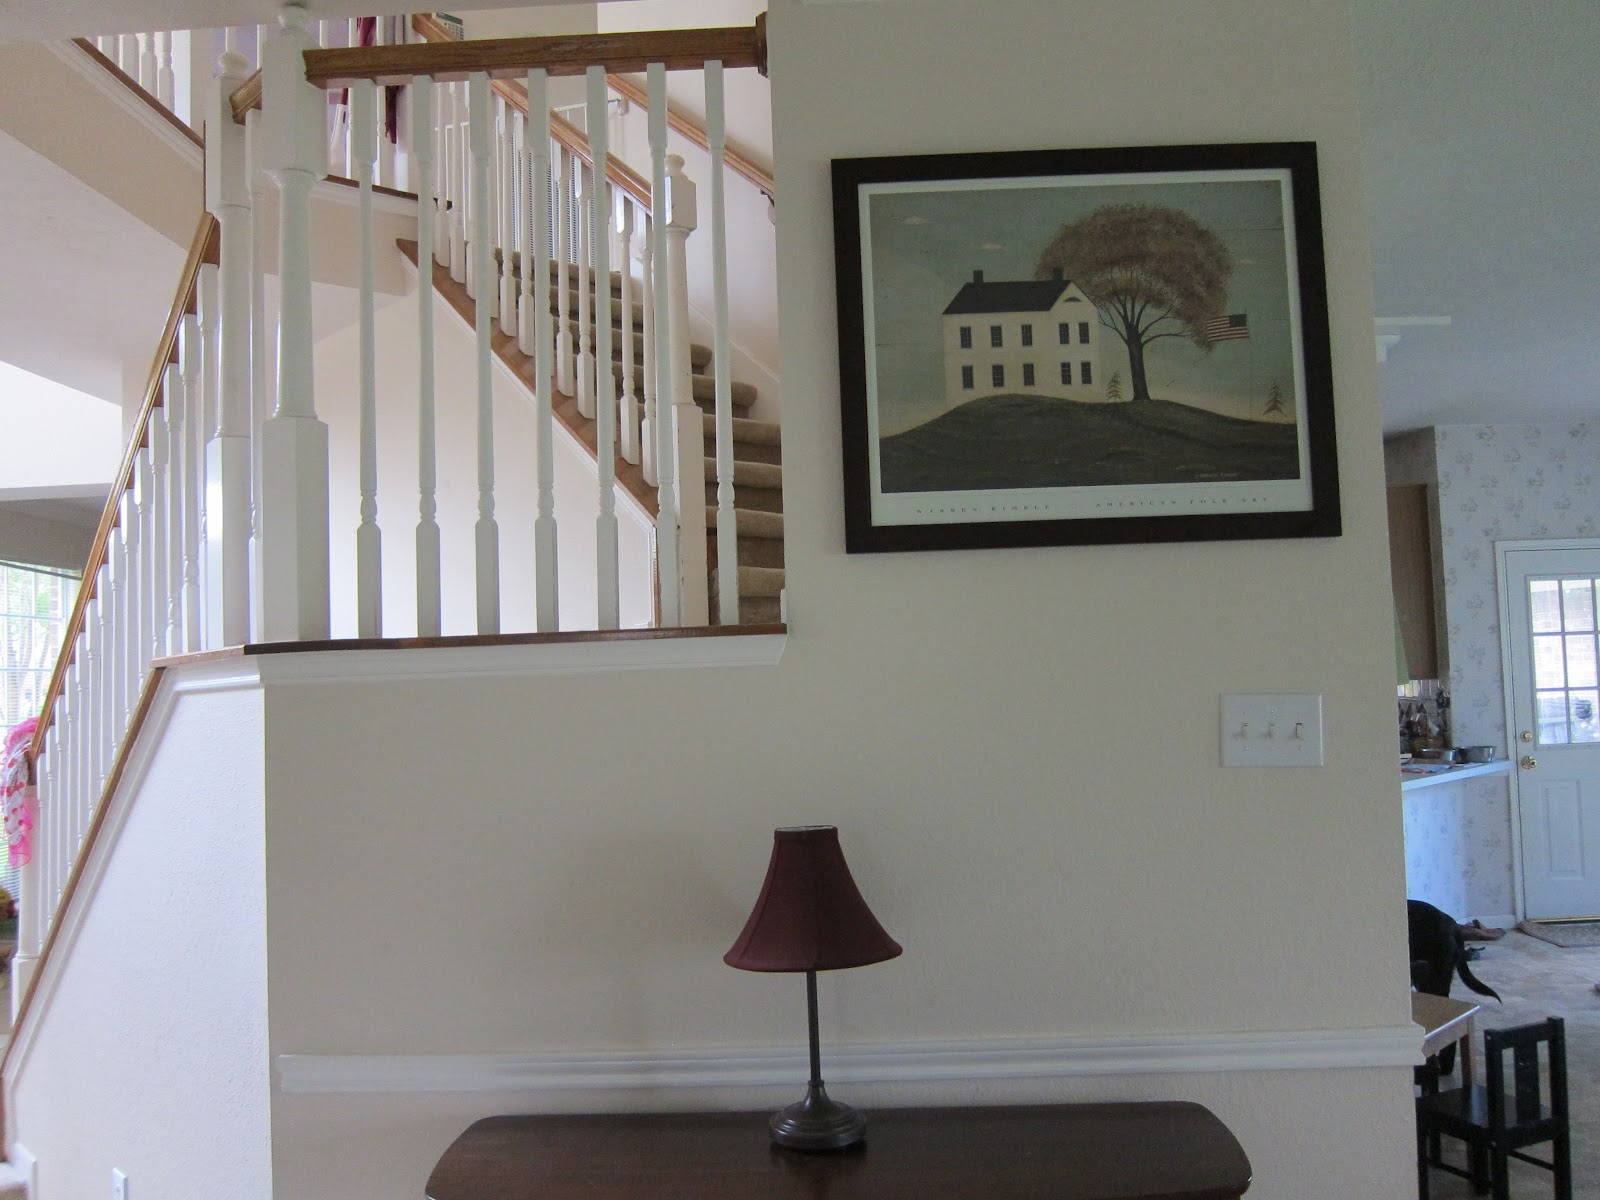
Before:

I never got pictures of the demo (sorry!) but this where we are at now:


This is the vanity we are planning on purchasing:

Thursday, June 23, 2011

Robot Room

Our little man's room is almost done.
  • Walls: blue/gray
  • Windows: energy efficient curtains in navy
  • Furniture: crib from IKEA (I love this crib-it converts to a toddler bed, is rated "A" for safety and cost less than a $100. I am always shocked when people tell me they spend over $600 on a crib); dresser is from a local furniture store and matches the guest room set
  • Fun: vintage robot posters from Land of Nod and a homemade name sign on painted canvass; we also have fun wall stickers to put up (http://www.landofnod.com/kids-wall-decals-and-stick-ons/kids-room-decor/8-bit-arcade-stick-ons/f4857)
Before:

After:

Tuesday, June 21, 2011

Princess Room

How fun is this room? It's a room fit for our little princess. My initial vision was a pink and red room, it has since evolved to a lot of other colors but it is fun and bright!
  • Walls: pale pink (the color is definitely brighter than I intended but it looks good)
  • Windows: bright curtains from IKEA; we have to loop them at the top because she tried to climb up them when they were down; I plan to get plantation shutters or energy efficient blackout panels at some point
  • Furniture: Pottery Barn kids
  • Bedding: homemade quilts from the grandmas; pillows from mommy's childhood bed
  • Fun: daddy couldn't resist a princess tent and tunnel for our little girl! Plus she has a lot of stuffed animals, dolls and books in her room
Before:
After: